We're thinking Elves and Superheroes here at Wild things HQ
We’ve added some new kits to the range so that you can make wee stocking fillers yourself, including this lovely Christmas Elf, and out cool superhero –superheroine doll wearing one of or very own capes.
I launched these at the Kirstie Allsopp Handmade Christmas Fair in Manchester last weekend, with an overwhelming response.
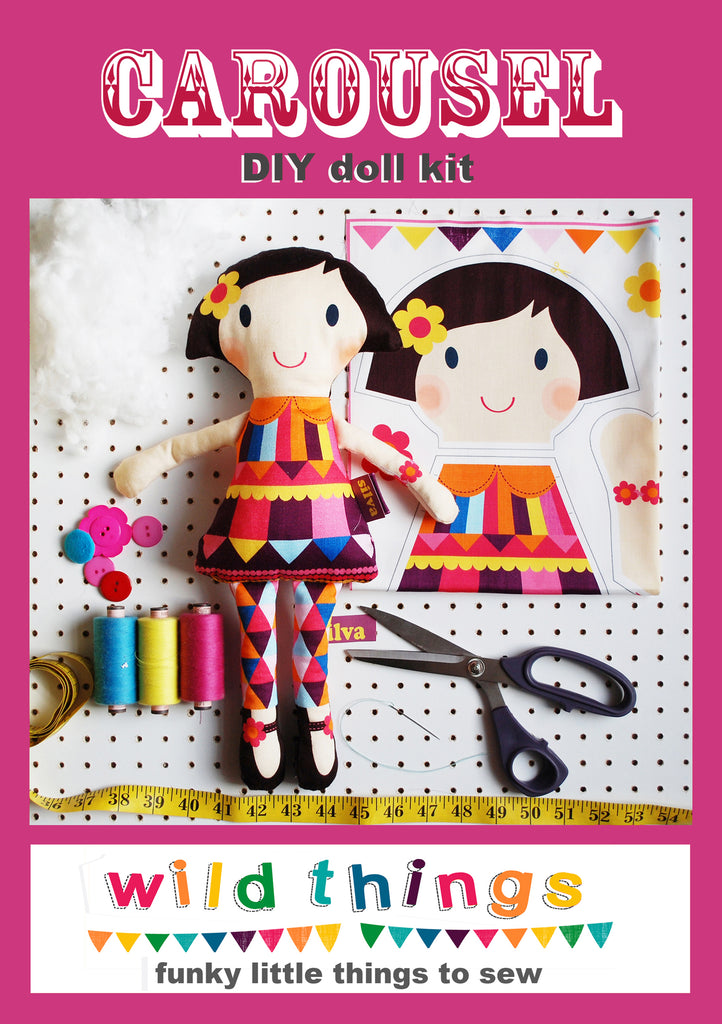
So we now have two dolls, one which makes up to a 40cm length doll, the other mini doll kit measures 28cm finished
need:
· Small bag polyester toy filler.
· Small sharp scissors
· Sewing thread
· Sewing needle and sewing machine ( optional)
Step 1: Cut out
· Follow the cutting lines on the fabric and cut out each piece
Step 2: Sew arms , legs and face
· Place each set of legs and arms with right printed sides of the fabric facing together. Pin if desired.
· Following your sewing machine guidelines sew around the edges along the stitch lines using a small stitch setting. Leave the ends open. It’s a good idea to back stitch or reverse stitch at the ends to secure,and stop the seams from opening.
· Hand stitch if desired using a small backstitch to ensure stitching is secure.
· For the face ,repeat by placing the face front and head back right sides together and sewing around as above. Turn through
Step 3: fill arms and legs
· Fill each arm and leg with hi-loft poly toy filler. Use a pointed edge such as a pencil or scissors to help.
Step 4: Assemble:
· Place made arms and legs into position on to the body front using pattern as a guide. Pin and sew into place.
· Prepare the name tag (optional) by folding the tape in two and position on the side seam as shown in the photo. You may also sew directly on to the doll back if you prefer.
· Place the face front to the dress front and sew.
· Place dress back face together with the front and sew all around ,with the limbs facing inwards.
· Pull legs and arms back through the neck opening.
· Now fill the head and body, making sure you add plenty at the neck to prevent a weak neck. Seal back neck by sewing (slip stitch) securely.
Comments
Jaimi:
Are these kits to buy please?
Jan 11, 2018
Leave a comment